
Brian, my husband, has always loved to teach. Before he decided his career would be in computers, he was on track to be a teacher.
He loves sharing what he knows about technology and programming. He and Nate had the opportunity to build a gamer kit together from the company Technology Will Save Us. As I started to explain what they did and tell you how they liked the process, I realized that Brian would be much better at sharing his experience.
So, it is my pleasure to introduce my sweet husband who is making a rare blog appearance today.
*******
In October 2014, it was reported that the number of mobile devices on Earth had surpassed the number of humans- and they were multiplying five times faster.
In September of 2015, it was reported that robots or automated technologies will replace 25% of all jobs by the year 2025.
Look at any sports stadium in the world. About the same amount of people at any given time are looking down at the screens on their gadgets that are looking at the play on the field.
The Information Revolution is in full swing. Technology powers this revolution. We should be prepared for how this will transform human life, just as the Agricultural Revolution and the Industrial Revolution before it.
I will prepare myself and my children. It is going to be quite a ride.
“Join the Maker Movement”
Technology Will Save Us (TWUS) is a start up from the UK, and is clearly part of the Maker Movement. This movement brings people together to innovate, invest, and invent. It asks technologists and artisans to work in harmony to create.
My son Nate and I decided to open ourselves up to the experience by building the DIY Gamer from TWSU.
We received the box one evening. The package design is inspired by mid 20th century science teaching materials- think late 1940’s fall-out kitsch. Very cool.
Once opened, everything is very clearly stored and marked. However, this is one intimidating layout. We have an Arduino board, various inputs and outputs, a printed circuit board, and a few other interesting bits.
To move forward, we watched a video from TWSU website, and read the instructions. These are all very clear and well-laid out. Also, I must give a quick shout-out: in the TWSU videos, their backdrop is some cardboard boxes with simple designs from electrical engineering. Very simple. Very cool.
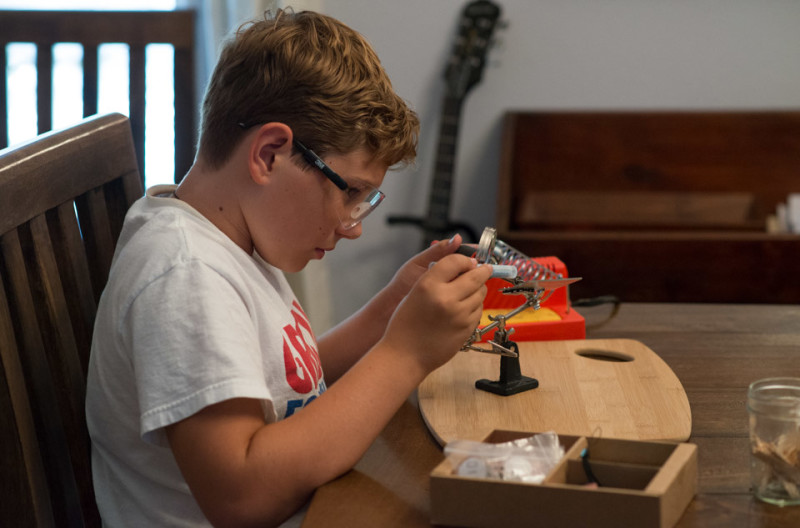
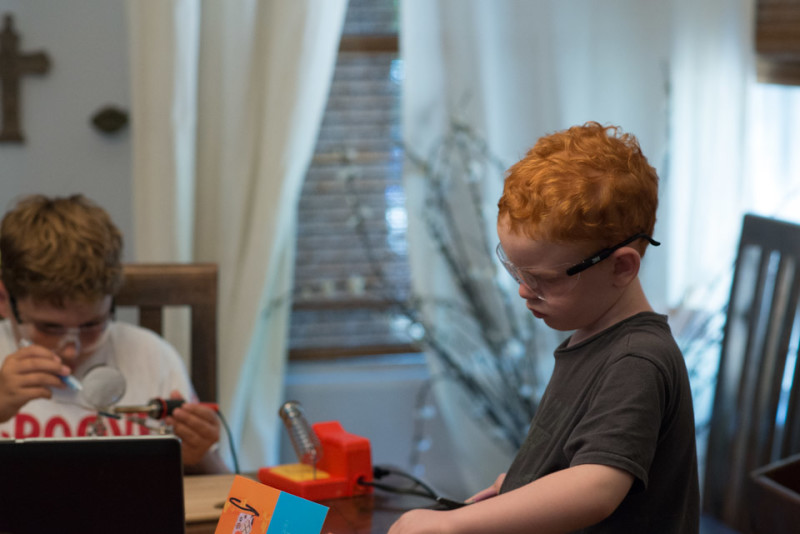
We heated our soldering iron, and got started. I was impressed with how excited my 12 year old son was to take this on. As most parents can tell you, if an activity doesn’t include a screen, it bores quickly. Building the DIY Gamer kept him laser focused in long stretches.
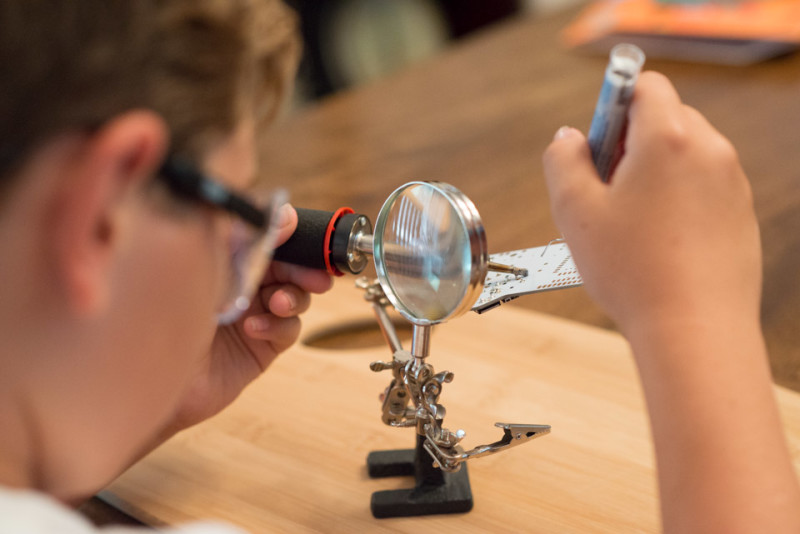
In the process of constructing the device, my son and I learned about soldering, electrical engineering, delayed gratification, elegant design, and how-not-to-get-burned.
Besides these skills, we had to exercise a small, but significant amount of problem-solving. First, we soldered a component backwards, and had to figure out how to heat all of the joints simultaneously so we could pull it out without breaking anything. Secondly, when the device was finally built, we had to figure out why it did not turn on. It was great watching my son see a green light from the Arduino board pop on, and him say ‘well, we know the battery power is reaching that component, so why not the screen?” His brain was full throttle. This dude was engaged.
We found out that we had burned the on/off switch and also missed some solder joints for the processor connections.
Thankfully, TWSU included an extra switch in the box! This was fixed quickly, and then something happened; something that is hard to describe in words.
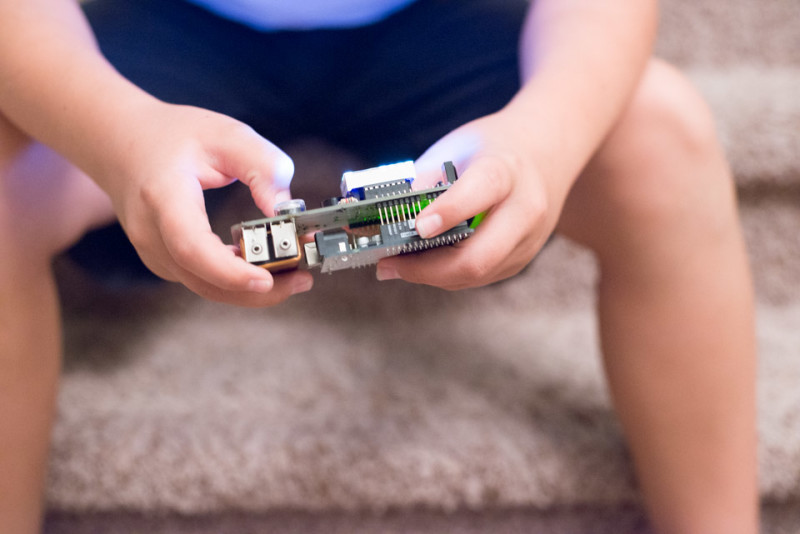
We turned on the system, and the screen lit the room. It is a simple screen, with a resolution of 8×8 big pixels. My son’s face also lit the room. This kid, who had spent a few hours soldering, problem-solving, backtracking, sighing, and getting burned (once), finally saw the fruit of his work come to life. His hands clapped feverishly, and he hopped up and down. I laughed out loud, inspired by his excitement, and to be honest, was just plain giggly as well.
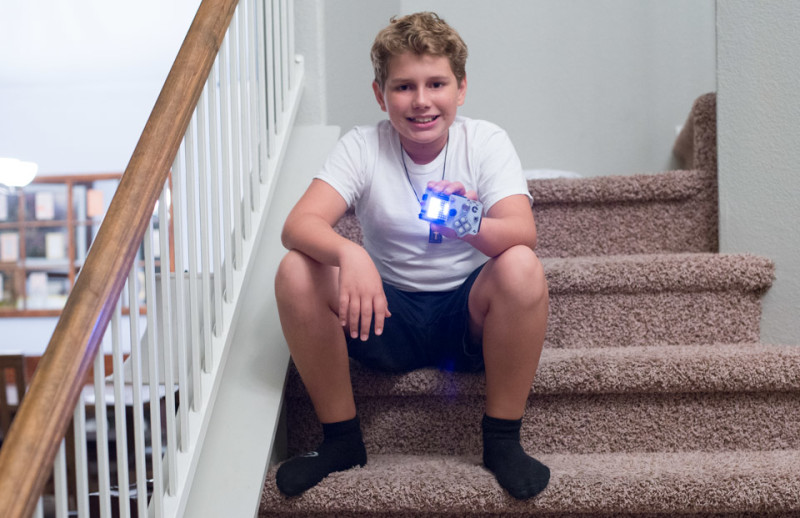
This. Was. Awesome.
We now have a very cool little gamer system that can be customized through the Arduino system, using basic coding skills. The DIY comes with the ability to display things on the screen, make sounds with a speaker, send Infra-Red signals like a remote control, receive Infra-Red signals for multiplayer gaming, detect light levels, and light up cool LEDs.
By technology standards it seems simple. However, this has most of the basics that any mobile device has. What a powerful system!
I have worked in technology for more than a decade, and I heartily recommend having this experience with your children. Don’t be afraid of soldering. Don’t be afraid of failing. This is a very forgiving device, and I am confident you will be successful. If not, I am also confident, through my experience using the instructions and videos from Technology Will Save Us, that they will help get you over any challenges you may encounter.
My son now looks at the devices around us very differently. It is like he can see through them- see how they work. It takes some of the mystery away, and instead, creates possibilities.
He has confidence and wonder.
He has taken a large step toward being a master of the technology that has come crashing into our lives. I know that he will help form this technology to serve the dignity of humans, which is very important to me. For this experience, I have to say a big thank-you to the people at Technology Will Save Us. The DIY Gamer experience is like no other.
0 Comments